Some Christmas T-shirt printing mistakes happen before the heat press is switched on. You might choose a preview photo instead of the artwork, stretch a design or pick a shirt that does not suit your printing method. Here are seven mistakes and simple checks to make before printing.
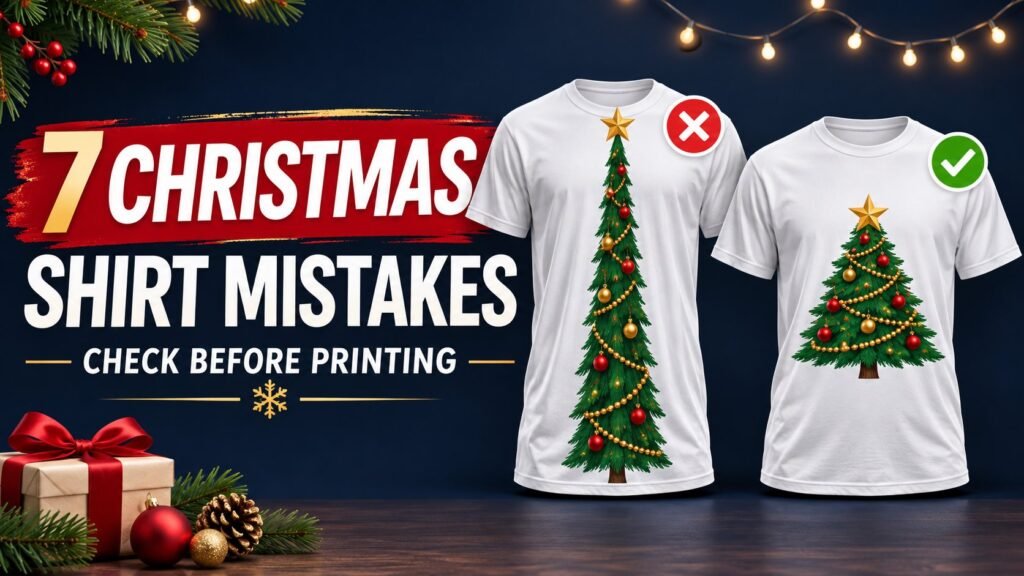
The cover is an illustration showing a stretched design beside one with its proportions kept. The other images are previews from our packs, not printing tests carried out for this guide.
1. Printing the preview photo instead of the design
The mistake: saving the picture of a shirt from an article and sending it to print. That picture may also include a table, gifts, wrinkles and a background.
What to do: download the pack and open its design folder. Choose the actual artwork file. A PNG can have a transparent background, but not every PNG does. Check it in your program. If you see a rectangle you do not want, fix it before sending the file to a print shop.
The preview helps you choose a design. The artwork file is what you use to prepare the print. If you cannot tell which is which, ask the shop before paying for printing.
2. Stretching the artwork to fill the space
The mistake: changing only the width or only the height. A tree can become too thin, and a face can look squashed, as shown by the cover illustration.
What to do: turn on the option that keeps width and height linked. Many programs show it as a padlock. Then resize the picture. If it does not fit, make it smaller without changing its shape.
Making a small image bigger does not create new detail. Look at its edges at the intended print size. If they look blurry or blocky, use a better original file or choose a smaller size.
3. Using the same size and position on every shirt size
The mistake: giving a small shirt the same print width as a large shirt without checking the available space.

What to do: lay each shirt flat and measure the area where the print will go. Print a paper test at actual size and place it on the shirt. Check the center, the gap below the collar and the distance from seams.
A family set can share a theme while using different print sizes. See examples in our matching Christmas shirts guide for couples and families.
4. Assuming any design will work on any fabric
The mistake: seeing a black shirt preview and assuming your printer can produce that result on any material.
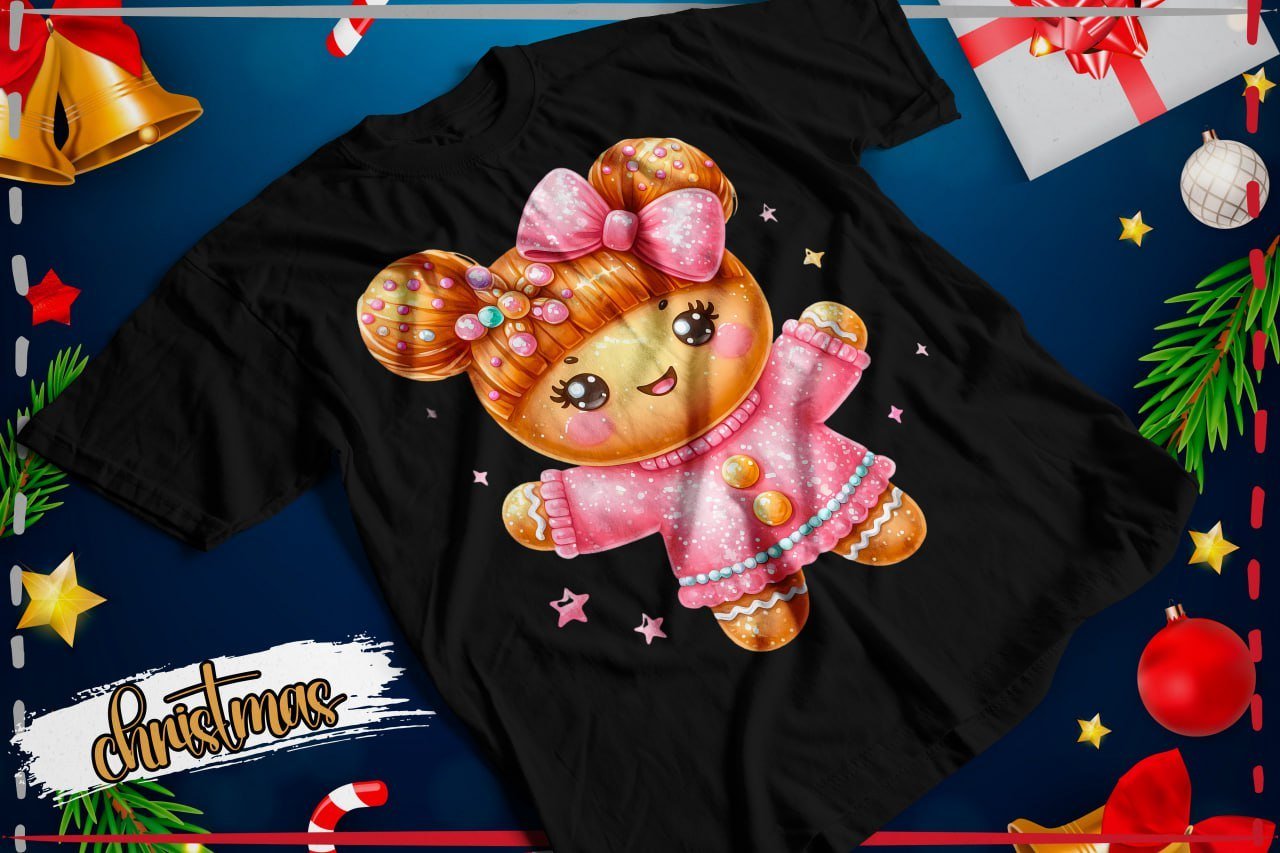
Standard dye sublimation does not use white ink. Epson recommends white or light-colored polyester garments for good results. See its beginner sublimation guide.
What to do: check the shirt label and tell your print shop the fabric and color. Ask which method will keep the light details visible. The artwork file alone cannot change what the ink or fabric can do.
5. Flipping the lettering without checking the instructions
The mistake: always using the mirror option, or applying it twice. Mirroring reverses the picture from left to right.
What to do: keep an original copy with readable words. Check which step, if any, needs the image reversed in your workflow. When ordering a ready-made transfer from a shop, follow its artwork instructions rather than flipping the file out of habit.
For example, Stahls’ UK asks customers not to mirror artwork submitted for its transfers. That applies to its service; it is not a rule for every printer. Check that the finished shirt will read correctly.
6. Mistaking a glitter effect for real glitter
The mistake: promising a glittery surface because the picture contains shiny-looking dots.
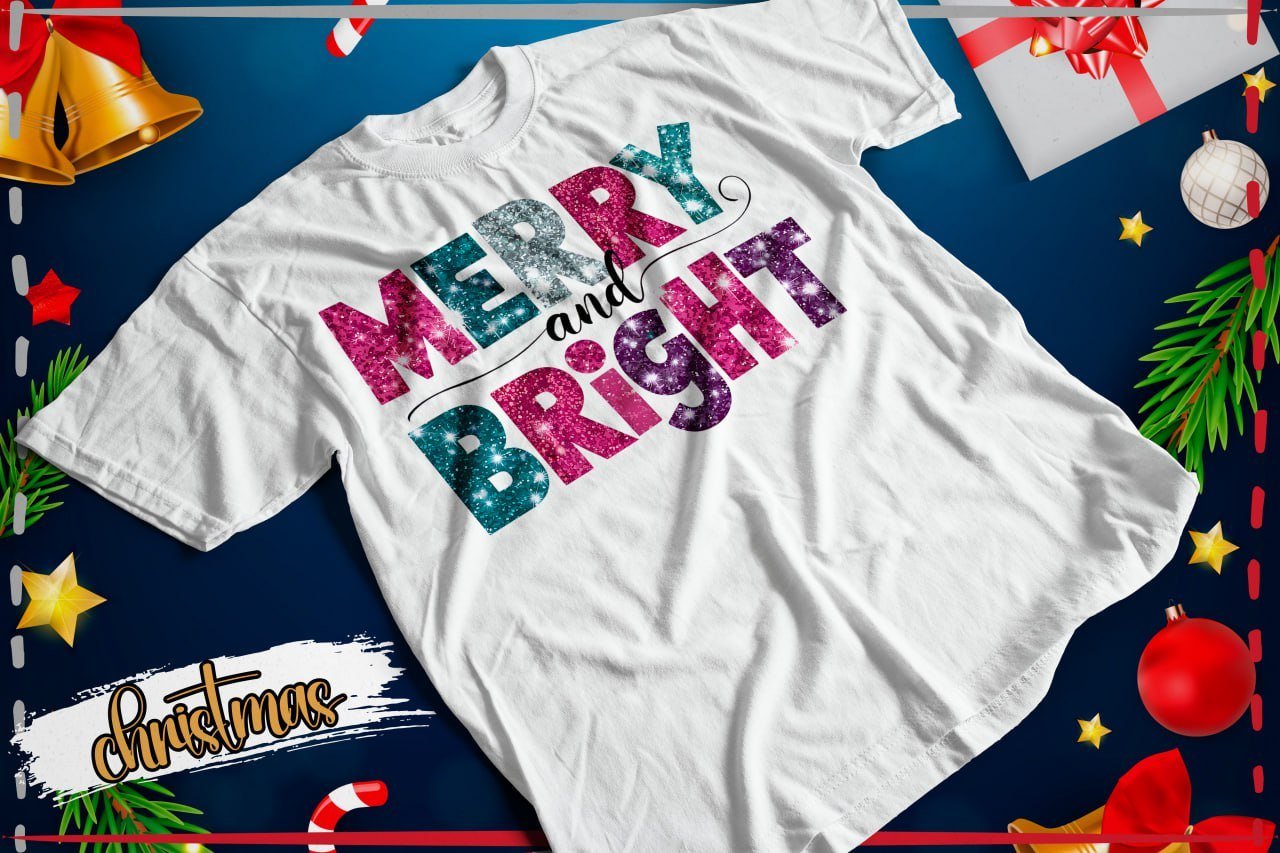
What to do: explain that the PNG contains a drawn glitter effect. Printing it does not add real glitter or make it reflect light like a shiny material. For a physical special finish, choose a suitable material and check its application instructions.
7. Copying old settings and skipping the test
The mistake: repeating the time, temperature and pressure from another job without checking the new material. Pressure means how firmly the heat press closes.
What to do: follow the instructions for your material and equipment. Stahls’ application charts show different settings and backing-removal instructions for different products. One combination will not suit everything.
Test with the same materials before making several shirts. A paper test helps with size and position. It does not replace a printing test on the fabric.
A quick check before printing
- I am using the artwork file, not the preview picture.
- The design keeps its shape and looks clear at the final size.
- The print size and position work on this garment size.
- The shirt color and fabric suit the chosen process.
- I checked words, names, dates and the final direction of the lettering.
- I have the material instructions and will test before repeating the job.
Design packs used in the examples
See all previews and download links in our Noel lettering pack, Christmas gingerbread pack and Christmas glitter effect pack. Use the downloaded artwork and check its terms before selling products or sharing the files.
Keep exploring

Matching Christmas Shirts for Couples and Families: Ideas

Christmas Glitter Effect T-Shirt PNG Designs: Free Pack
Christmas Gingerbread T-Shirt PNG Designs: Free Pack

Christmas Disney 3: 18 Free T-Shirt PNG Designs

43 Creepmas T-Shirt PNG Designs: Free Christmas Pack